FREE Download Regency Historical Baby Dress Pattern (0-3 month)
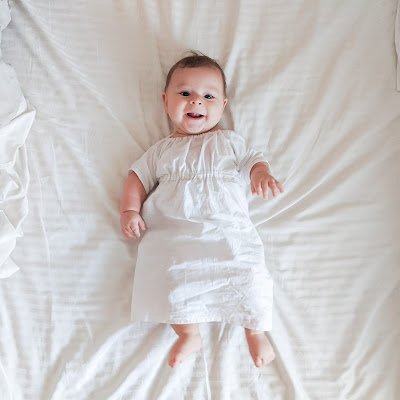
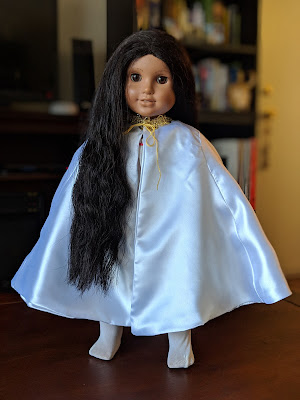
I knew as soon as my son was born that I wanted to share my love of history and fashion with him and wanted to start making him his own outfits! Not knowing how quickly he would grow or how often he would be able to wear it, I set out to find an example of a very simple dress. I came across this image from the Philadelphia Museum of Art of an 1813 Boy's Dress and I got to work recreating it! Now I did not do all of the gorgeous white work embroidery this time, but I hope to do some embellishment in the future.
You will need for this dress:
half a yard of at least 44" wide fabric
2 yards of 1/2" bias tape
2 yards of cord or ribbon
sewing notions
1. Begin by cutting out your fabric pieces, placing on the correct folds so when finished your piece looks like this:
2. Line up the center notch of the sleeves with either the center shoulder mark or optional shoulder seam and stitch with a 5/8" seam allowance.
3. After both sleeves are attached, put the right sides of the body and sleeves together to form a T shape. Stitch down sleeves and sides.
4. Iron 1/2" bias tape to create a 1/4" channel (If you want a wider channel, you totally can!) and stitch to marks, folding ends under at the center back.
5. Also use the 1/2" bias tape to create a facing/channel for the neck edge. Sew bias tape to the wrong side, folding edges back, so when you turn it the opening for the ribbon will be on the right side of the dress.
6. Turn and iron facing and then top stitch.
7. Thread cord or ribbon through channels, with a safety pin, bodkin, or tapestry needle.
8. Hem sleeves and bottom of dress by turning 1/4" under twice and stitching.
That's it! From here you can embellish or leave plain. Although this is technically a Regency gown, it's so simple and basic that I would use it for almost any time period, especially with a baby this age and size.
Thank you so much for following along!
Till next time! ♥️


Comments
Post a Comment