Posts

FREE Download Regency Historical Baby Dress Pattern (0-3 month)
Image
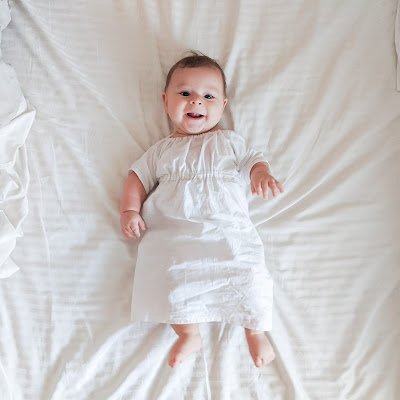
      I knew as soon as my son was born that I wanted to share my love of history and fashion with him and wanted to start making him his own outfits!  Not knowing how quickly he would grow or how often he would be able to wear it, I set out to find an example of a very simple dress.  I came across this image from the  Philadelphia Museum of Art  of an 1813 Boy's Dress and I got to work recreating it!  Now I did not do all of the gorgeous white work embroidery this time, but I hope to do some embellishment in the future.  So first things first, download here  →   Pattern You will need for this dress: half a yard of at least 44" wide fabric 2 yards of 1/2" bias tape 2 yards of cord or ribbon sewing notions 1. Begin by cutting out your fabric pieces, placing on the correct folds so when finished your piece looks like this: 2. Line up the center notch of the sleeves with either the center shoulder mark or optional shoulder seam and stitch with a 5/8" seam allowance. 3.

Baby Pillow Lounger DIY

Image
So as you may or may not know, my husband and I had our first baby back in November and it has changed our lives forever, in all the best ways.  My little one is the joy of my life and all he wants to do his cuddle with me all day and night, unfortunately not allowing me to do such things as eat, fold laundry, etc... and I needed a spot to lay him down where he would still feel held.  Enter this pillow!  Inspired by luxury baby pillows online, this is the low budget version, which you will see by the materials needed. *DISCLAIMER* Use lounger at your own risk. Never leave child unsupervised. Materials: 2 pillowcases and 1 pillow, needle, pins, thread, scissors,  ruler, iron, ironing board and (optional) sewing machine. Yes. That is it. Start by flipping the pillow case inside out and ironing. Then using a ruler mark 6 1/2 inches from each corner and mark a square. Using the inner mark as a fulcrum, mark 6 1/2 inches away in an arc. Pencil the lin

FREE Download American Girl Doll Cape

Image
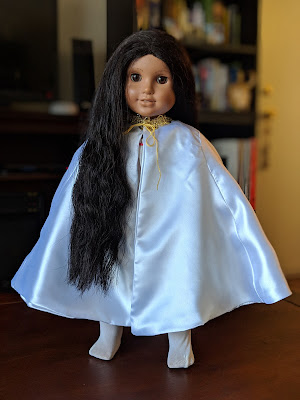
I created this pattern as a small scale mock-up for a life-size pattern, but it just turned out too cute not to share!  I have the pattern for you to download here →  American Girl Doll Cape Pattern List of Materials: Fabric (approximately half a yard total) Thread Needles/Sewing Machine Scissors Sewing Pins Closure of choice 1. First things first you will lay out the pattern on your fabric and cut out the pieces.  This cape has 2 layers, so if you would like a contrasting lining, every piece will be cut out of your fashion fabric and your lining fabric.  For this example, I used the same fabric for both layers. 2. Next, you will connect each "side" piece to the front or back pieces.  First, you will line up the straight edge of the shoulder and the end of the curve of the side piece. Then you will line up the straight edges at the end. You will follow along with the straight edges up towards the curve and then ease around the cur

1860s Hand-sewn Corset

Image
Follow along with my sewing of this 1865 corset! Till next time! ♥️